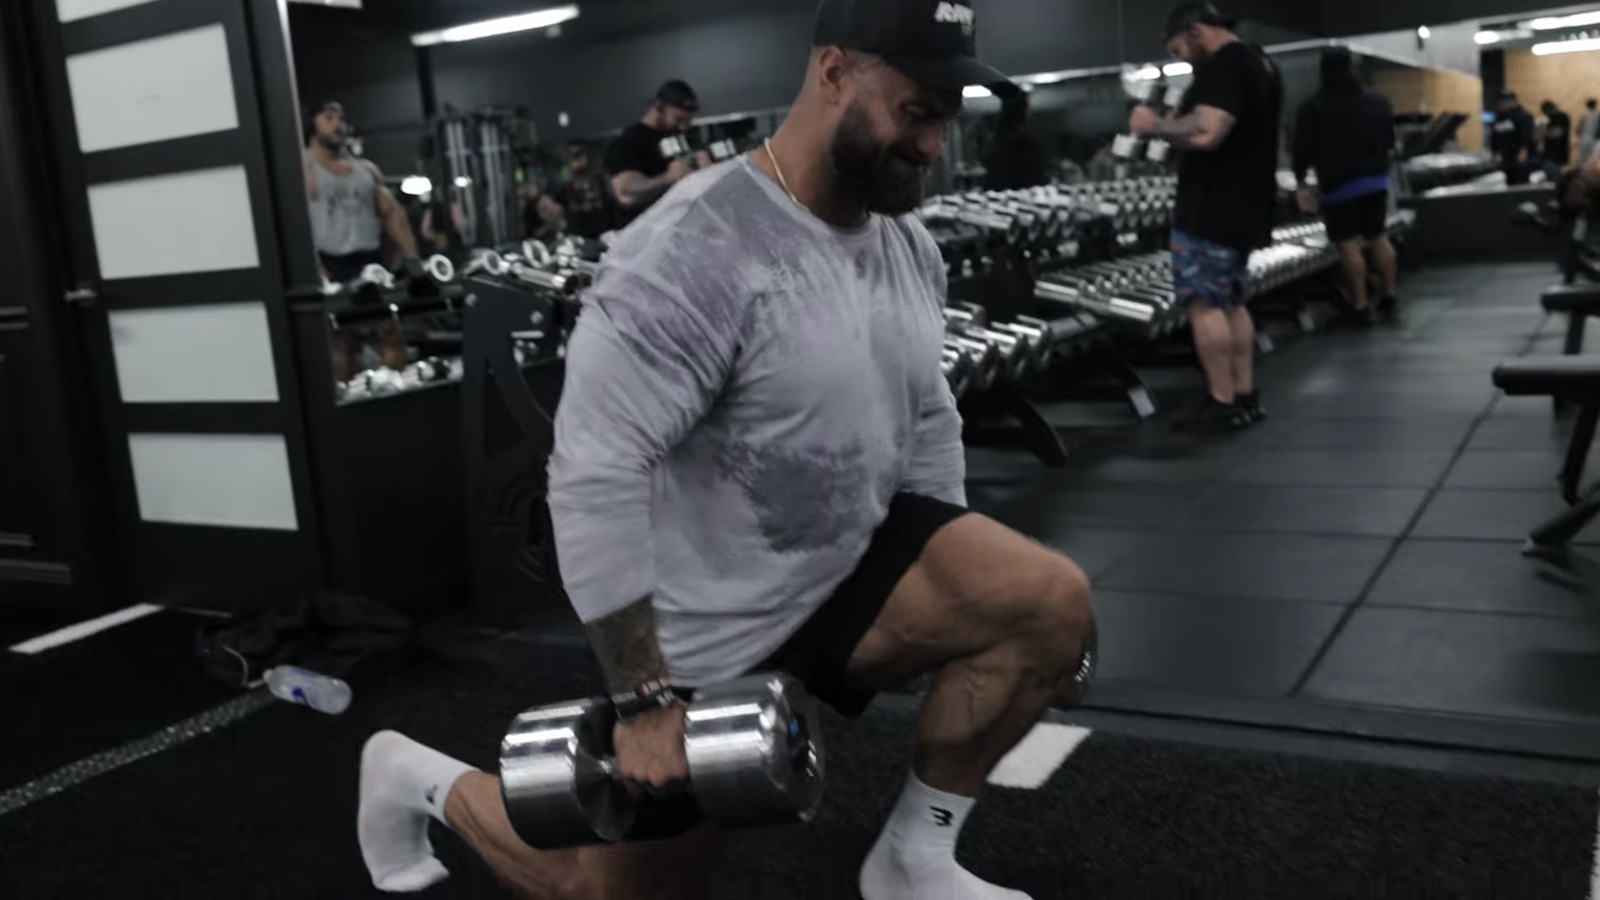
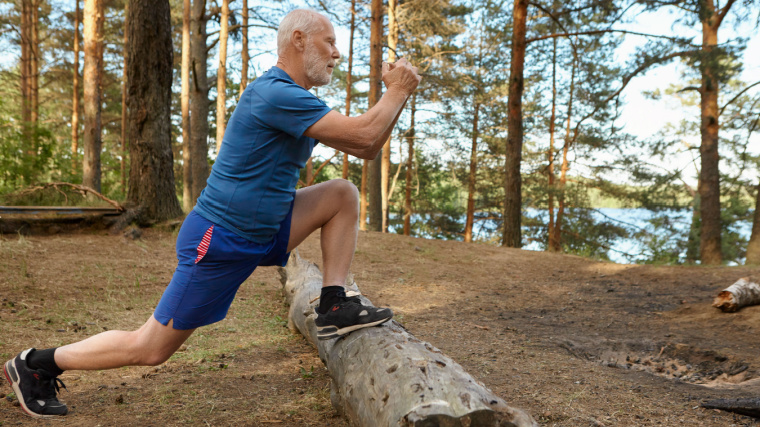
When it’s time to target your posterior chain — glutes, hamstrings, and lower back — many lifters can be spoiled for choice when it comes to choosing effective exercises. Two of the most popular movements that end up in the spotlight are the classic deadlift and its slightly more focused twin, the Romanian deadlift (RDL).
Both of these exercises use a “hip hinge” movement to build muscle while developing the kind of practical, real-world strength that makes you the go-to person when your friends need help moving. Both exercises also have unique characteristics that could make each one an effective choice under certain conditions and training contexts.
There is no “right” or “wrong” answer when it’s time to choose your deadlift. You simply need a better understanding of what these two hinging movements can offer. So if you’re in a certain “one deadlift rules the world” camp, your eyes are about to be opened to a new way of thinking about these powerful pulls.
Deadlift and Romanian Deadlift
Exercise Differences
For consistency’s sake throughout the article, “the deadlift” refers to the conventional deadlift, while the Romanian deadlift refers, clearly, to the Romanian deadlift variation. If you’re curious about sumo deadlifts, sorry, but they’re not part of this conversation. However, they do share many of the same characteristics as the conventional deadlift.
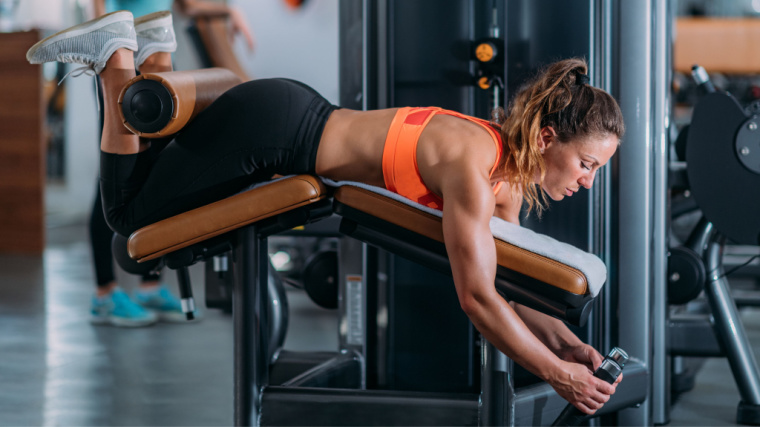
Muscle Activation
Both the deadlift and Romanian deadlift involve hip extension, your glutes and hamstrings are activated and trained effectively. However, the deadlift starts from the floor and involves a more significant knee bend aka knee flexion.
This factor alone makes a huge difference because it’s what gives you more leverage to lift more weight with the classic deadlift. This is also why it’s a preferred stance for competitive powerlifters.
The improved leverage increases quadriceps activation, making the deadlift one of the most comprehensive lower body exercises by involving the glutes, hamstrings, and quads as one unit. The relatively heavy load and overall stability requirements also increase the demands on your core and back muscles.
Contrastingly, the Romanian deadlift is performed without significant knee flexion. This limits your leverage while involving many of the same muscles — except for the quadriceps. This is why the RDL is often considered a primary hamstring exercise. (1)
Eccentric Emphasis
The Romanian deadlift starts from the top, while you are standing upright, and it focuses on controlling the lowering phase (eccentric). This controlled eccentric emphasis is what gives you relatively more control over the movement.
Generally speaking, many people do not control their eccentrics during conventional deadlifts. They typically lift the weight explosively before dropping the weight nearly as quickly. This drop is often (and unfortunately) accompanied by a celebratory scream after each successful lift regardless of gym etiquette.
This difference in the eccentric emphasis, or lack of, can make the cadence and overall effect of the exercises quite distinct. With the higher degree of eccentric control, Romanian deadlifts may be better for training muscular deceleration (crucial for athleticism) as well as hip and hamstring flexibility-related adaptations.
Range of Motion
In a deadlift, the added knee flexion reduces the necessary range of motion at hip extension — because you’re bending at your knees, you can lift the weight without bending significantly at your waist. This also limits the range of motion for your glutes and hamstrings, especially in their stretched position (at the bottom of the exercise).
The goal of a Romanian deadlift is to push your hips back and not perform any large degree of knee flexion. Combine this with the eccentric control mentioned earlier and you get a much longer range of motion with your glutes and hamstrings, especially in the stretched position which recent research is finding to be incredibly anabolic. (2)
Strength Potential
Between the two movements, the deadlift is often more popular because its nature and overall technique allow you to lift relatively heavier weights. That’s why it made the list as one of the three movements performed in competitive powerlifting.
For non-powerlifters, conventional deadlifts can simply feel invigorating and motivating because of the sheer strength-building potential they offer.
Romanian deadlifts allow for less absolute load because of their mechanics. No knee flexion means fewer muscles involved and less loading potential. They’re still a potentially heavy exercise, but Romanian deadlift PRs are not bragged about nearly as often. When people ask how much you deadlift, it’s safe to assume they’re talking about conventional deadlifts from the floor.
Fatigue
This is one of the main differences that many people overlook. Not only is the level of fatigue different, but the type of fatigue is different between the two movements.
Because deadlifts involve more muscles and are often performed heavier, they’re generally more fatiguing. Whether you train with relatively higher reps or low reps, you can often count on feeling pretty beat up after doing deadlifts.
Especially as you get more advanced, one or two sets of deadlifts with a challenging weight or significant volume can leave you fried. This is often described as “systemic fatigue,” where your whole body is affected. Anecdotally, some people also tend to feel more joint stress with deadlifts.
Romanian deadlifts are typically performed with relatively lighter weights, so they trigger less joint stress and are less systemically fatiguing. This makes Romanian deadlifts generally easier to recover from. However, they can produce more fatigue and muscle soreness in the local muscles specifically involved in the exercise.
Romanian deadlifts also involve lots of eccentric stretching. This type of stress through a longer range of motion inflicts a higher degree of muscle damage. After you’ve pushed yourself with Romanian deadlifts, you can feel a clear difference where your glutes and hamstrings may even feel like they’re tearing. This causes your glutes and hamstrings to be more sore.
Exercise Similarities
Both exercises have differences that can be a factor, depending on your goal. However, they also share fundamental similarities and crossover. Most people in the gym, aside from competitive powerlifters, would likely not notice a drastic difference in long-term progress if they were to substitute one for the other.
Hip Hinges
The deadlift and Romanian deadlift are both “hip hinges” — your body primarily moves by bending at the hips. This action trains many muscles throughout your body by coordinating strength, force transfer, and stability from your lower to upper body.
This comprehensive effect allows you to build strength, muscle, and athleticism. Fulfilling these roles is often more important than some of their unique differences.
Posterior Chain Development
Your glutes and hamstrings, along with your low back, are all targeted with both the deadlift and Romanian deadlift. In other words, these exercises develop that backside many people are after.
You need some sort of basic hip hinge in your training program to efficiently target those eye-catching glute and hamstring muscles, while also strengthening your low back.
Building a powerful posterior chain has also been shown to help maintain strength and potentially decrease the general risk of injury and incidence of back pain. (3)
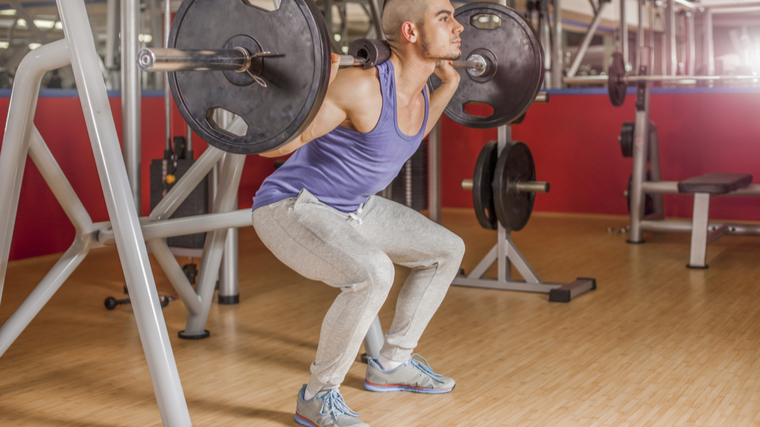
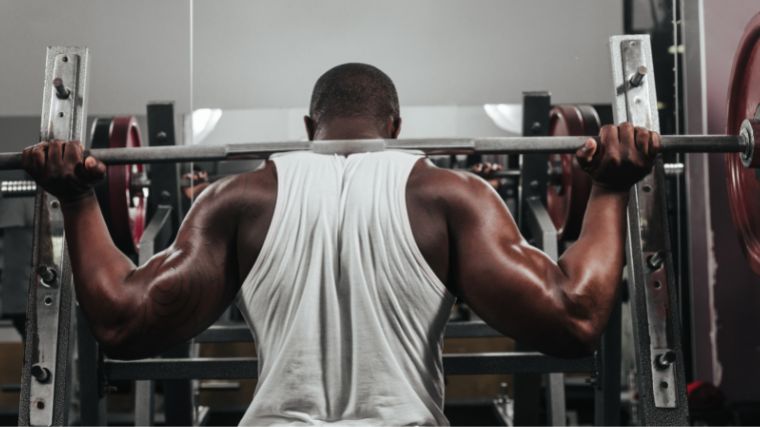
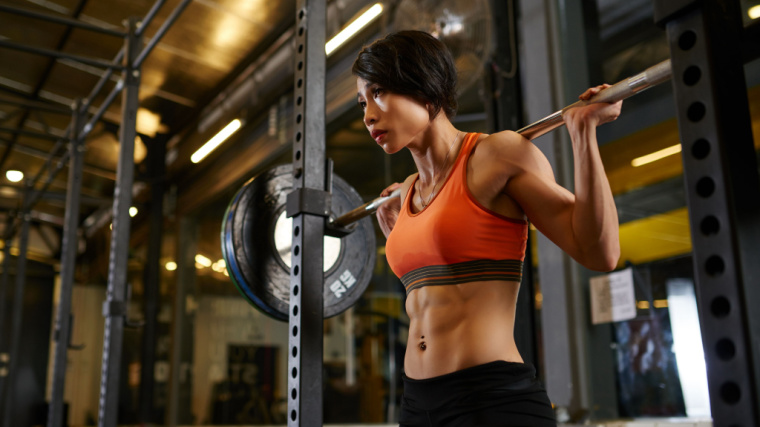
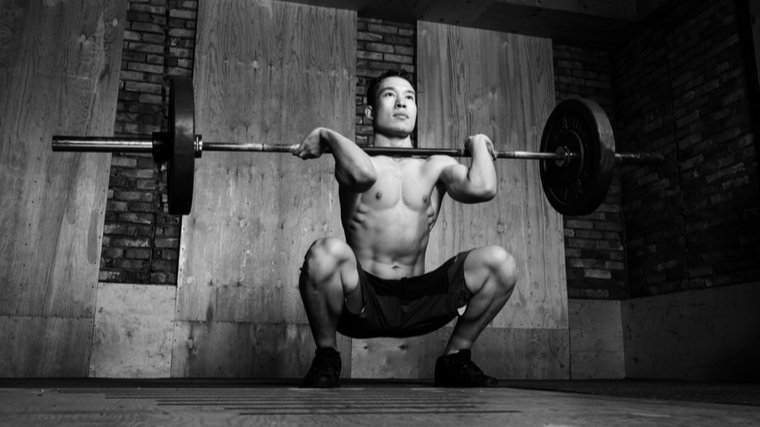
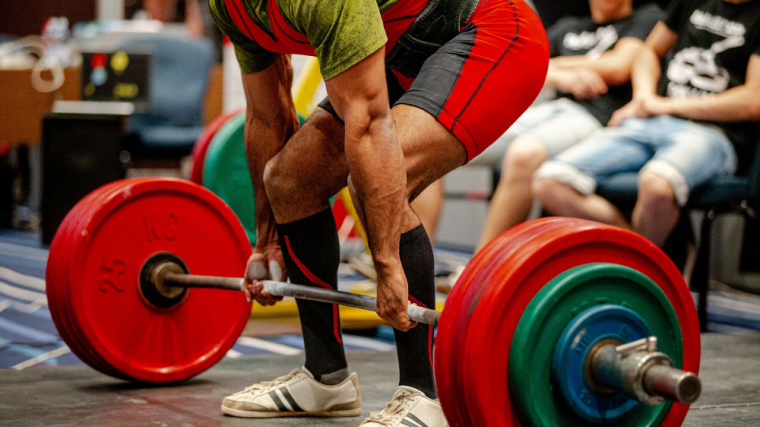
How to Do the Deadlift
The deadlift is often considered one of the foundational lifts that every beginner in the gym should learn. While that may or may not be true, the deadlift (as a hip hinge) remains a fundamental movement pattern that targets a variety of muscles from your hamstrings to your upper back.
This makes it an efficient and effective exercise for several goals, and mastering this exercise should likely be on the to-do list for the majority of gym-goers.
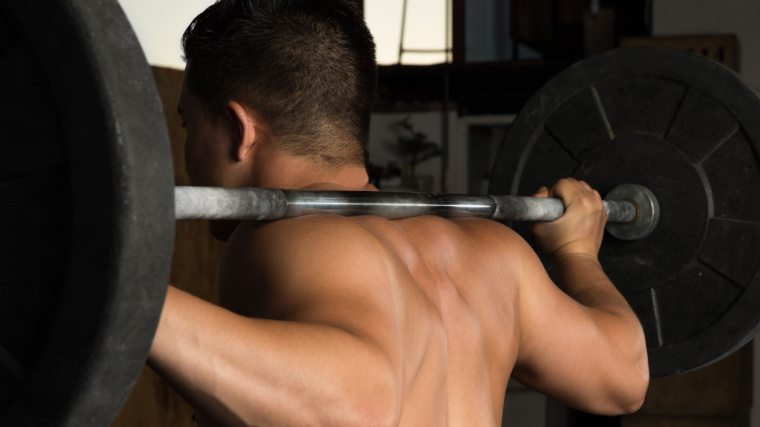
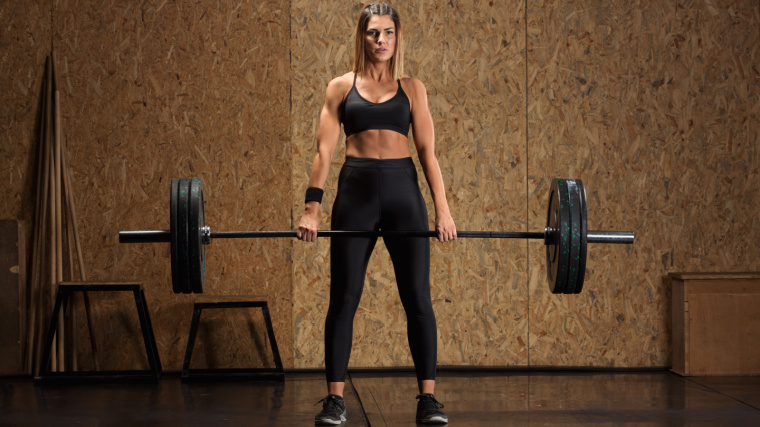
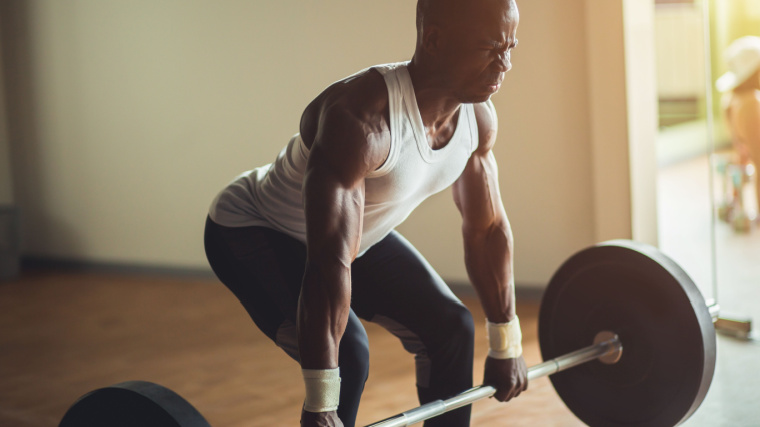
- Stand before a bar with your feet hip-width apart and the bar lined up over the middle of your feet. Grab the bar with your hands slightly wider than shoulder-width apart. Adjust slightly to get your shins close to the bar.
- Bend at your hips and knees, lowering yourself down while maintaining a neutral spine. Your shoulders should be slightly in front of the bar and your gaze should be focused on a spot on the floor a few feet in front of the bar.
- Engage your core and lat muscles to stabilize your spine. Grip the bar hard, take a deep breath, and brace your core. Drive through your legs, while extending (straightening) your hips and knees simultaneously.
- Keep your chest up. The barbell should move in a vertical path, staying in contact with your legs as you stand up.
- Drive through your heels until you reach a fully upright position. At the top of the movement, squeeze your glutes to achieve a strong lockout. Your hips and knees should be fully extended.
- To lower the bar, hinge at your hips, push your hips back, and bend your knees slightly. Avoid rounding your back or letting the barbell drift away from your legs. Lower with control — don’t simply drop the bar.
- Once the barbell is back on the ground, take a moment to reset your starting position before beginning the next repetition.
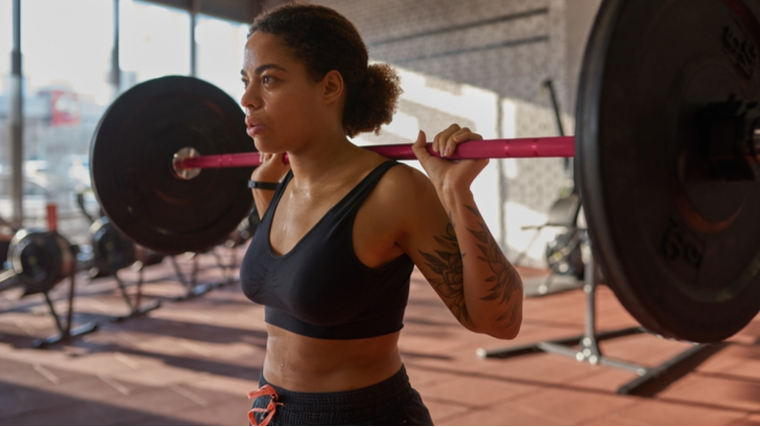
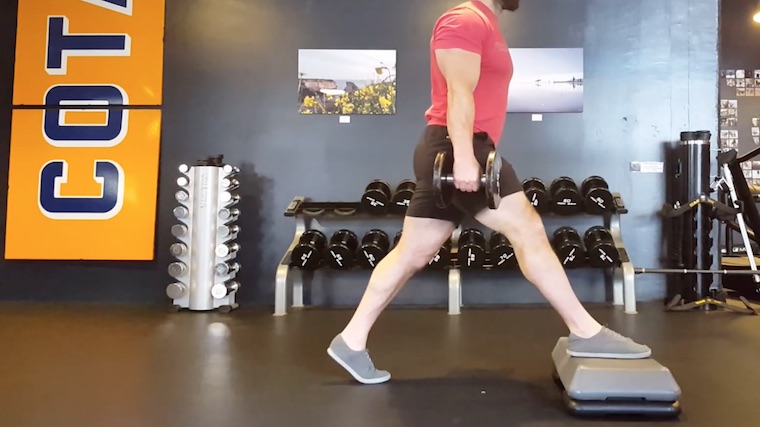
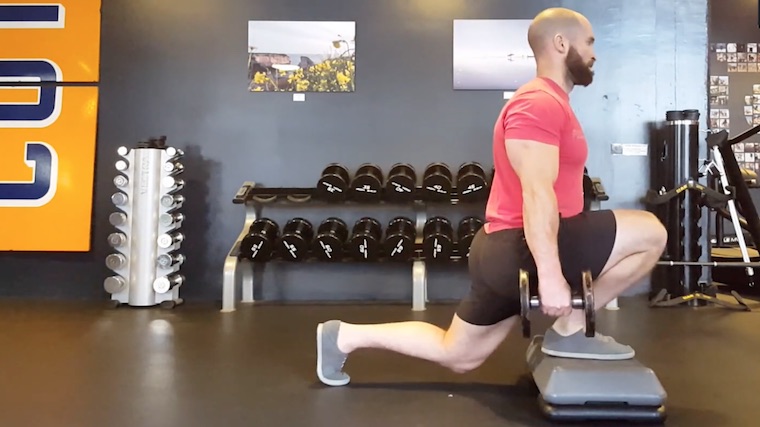
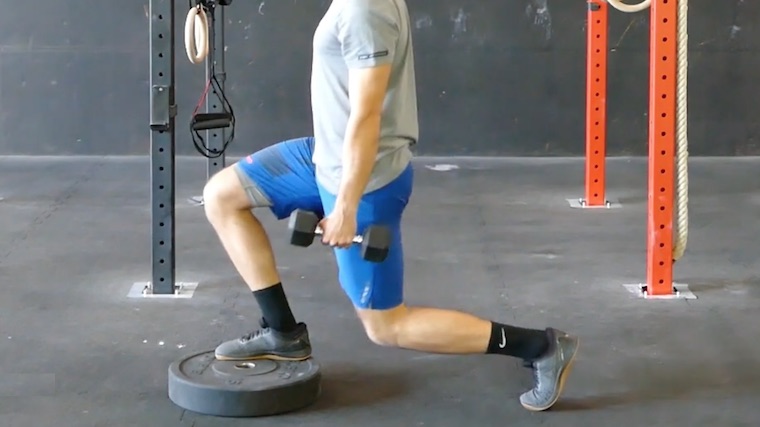
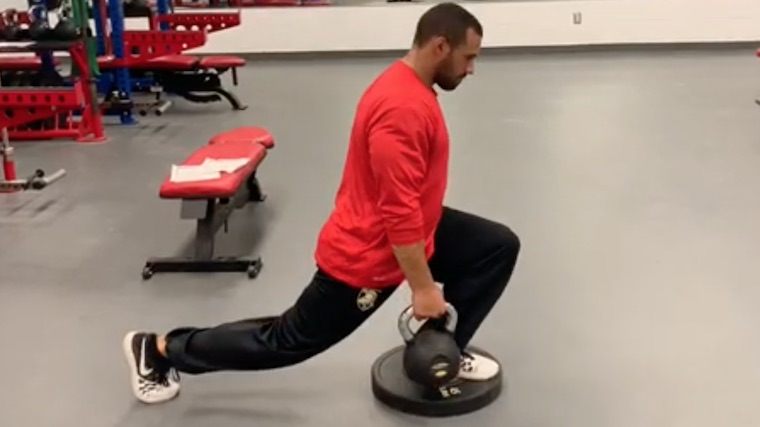
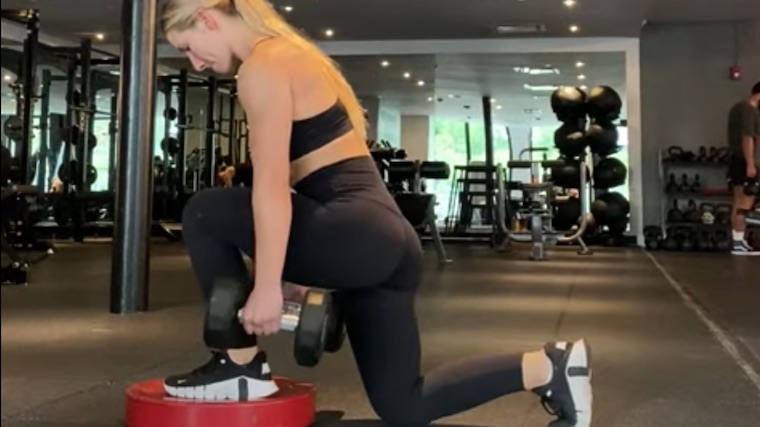
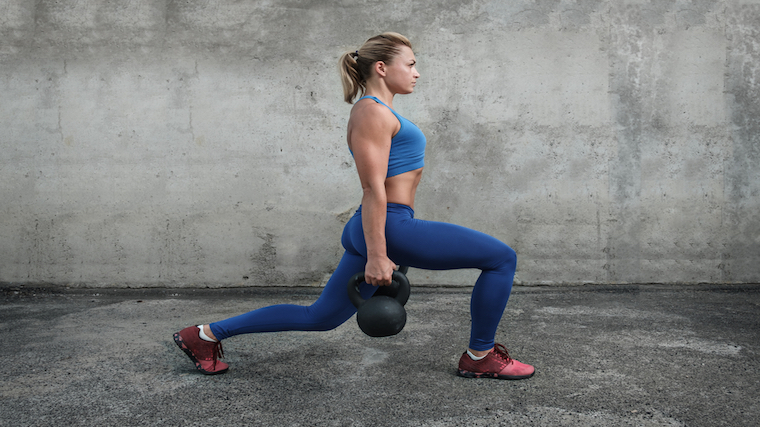
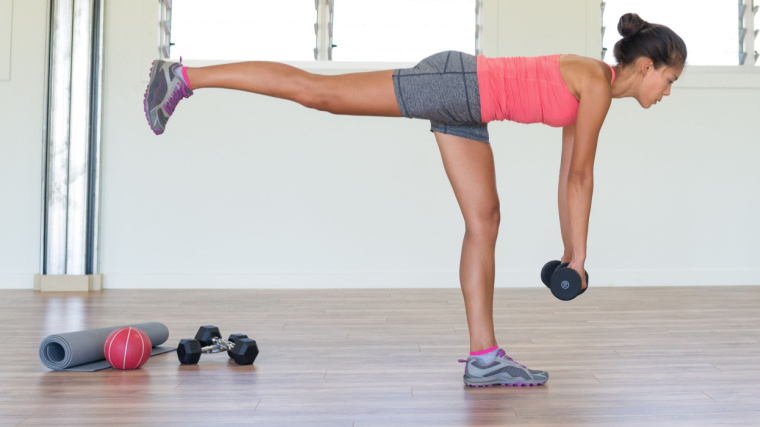
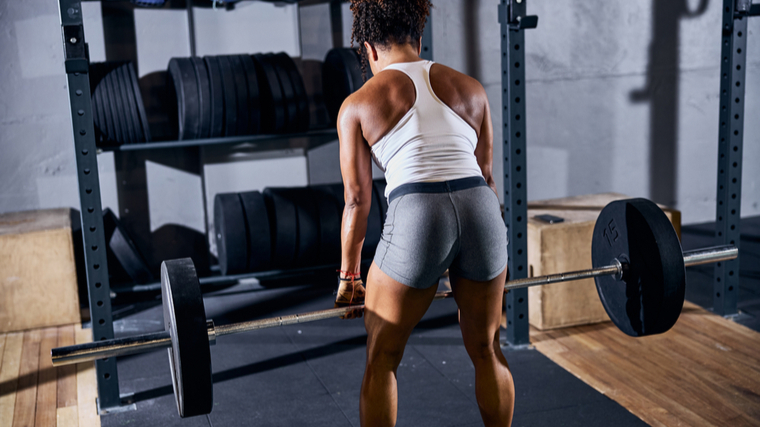
How to Do the Romanian Deadlift
The Romanian deadlift may have a reputation as being more “for muscle” rather than “for strength,” but that’s not really accurate. The increased glute and hamstring recruitment can definitely benefit muscle-building, but you can still gradually work up to relatively heavy weights in the lift if you choose to train for strength.
Alternatively, some lifters focus on the longer range of motion and increased stretching offered by the Romanian deadlift. In any case, it’s a versatile exercise that can be a key player in any workout routine.
- Grasp a barbell using an overhand grip, with your hands slightly wider than shoulder-width apart. Stand with your feet hip-width apart, allowing the bar to rest against your upper thighs. Either begin with the bar in a rack or deadlift the bar into position.
- Engage your core. Push your glutes backward and hinge at your hips to begin the movement. Keep a slight bend in your knees but avoid excessive knee flexion. Maintain a straight back as you move.
- Lower the barbell along the front of your thighs. Continue descending until you feel a stretch in your hamstrings. Avoid rounding your back during the descent.
- To find the bottom position, if mobility allows, aim for your torso to reach almost parallel to the ground with the barbell somewhere between your knees and ankles.
- To return upright, drive your hips forward and squeeze your glutes. Keep your back straight and focus on feeling your hamstrings and glutes lift the weight. As you stand up, maintain control and avoid any jerking motions.
When to Program the Deadlift vs. Romanian Deadlift
For most people, the most effective way to program these exercises is to simply switch from using the conventional deadlift to the Romanian deadlift. The Romanian deadlift is superior for building lean muscle on your glutes and hamstrings, which is often a higher priority than lifting heavy weights.
In general, if you’re looking to build the highest level of strength and you want a more comprehensive exercise that recruits the maximum number of muscles, consider programming the deadlift.
However, the Romanian deadlift is the better choice for a posterior chain hypertrophy exercise. It takes the glutes and hamstrings through a longer range of motion with a muscle-building stretch.
Both are demanding compound exercises that should be programmed early in your leg day, ideally as your first or second exercise. To reduce cumulative stress and fatigue on supporting muscles, avoid programming anything too demanding on the lower back in the next workout, like back squats or direct back extensions.
Pick Your Heavy Hinges
The deadlift and Romanian deadlift are both highly effective hip hinges that will get you strong and build plenty muscle. While this might sound oversimplified, it’s not entirely wrong to think of the deadlift as a “high leverage lift that cuts range of motion to move big weights” while the Romanian deadlift is a “more controlled, long range of motion muscle-builder for the glutes and hamstrings.” You can’t go wrong with either, but one might edge forward depending on your specific needs.
References
- Martín-Fuentes, I., Oliva-Lozano, J. M., & Muyor, J. M. (2020). Electromyographic activity in deadlift exercise and its variants. A systematic review. PloS one, 15(2), e0229507. https://doi.org/10.1371/journal.pone.0229507
- Nunes, J. P., Schoenfeld, B. J., Nakamura, M., Ribeiro, A. S., Cunha, P. M., & Cyrino, E. S. (2020). Does stretch training induce muscle hypertrophy in humans? A review of the literature. Clinical physiology and functional imaging, 40(3), 148–156. https://doi.org/10.1111/cpf.12622
- Tataryn, N., Simas, V., Catterall, T., Furness, J., & Keogh, J. W. L. (2021). Posterior-Chain Resistance Training Compared to General Exercise and Walking Programmes for the Treatment of Chronic Low Back Pain in the General Population: A Systematic Review and Meta-Analysis. Sports medicine – open, 7(1), 17. https://doi.org/10.1186/s40798-021-00306-w
Featured Image: 4 PM production / Shutterstock